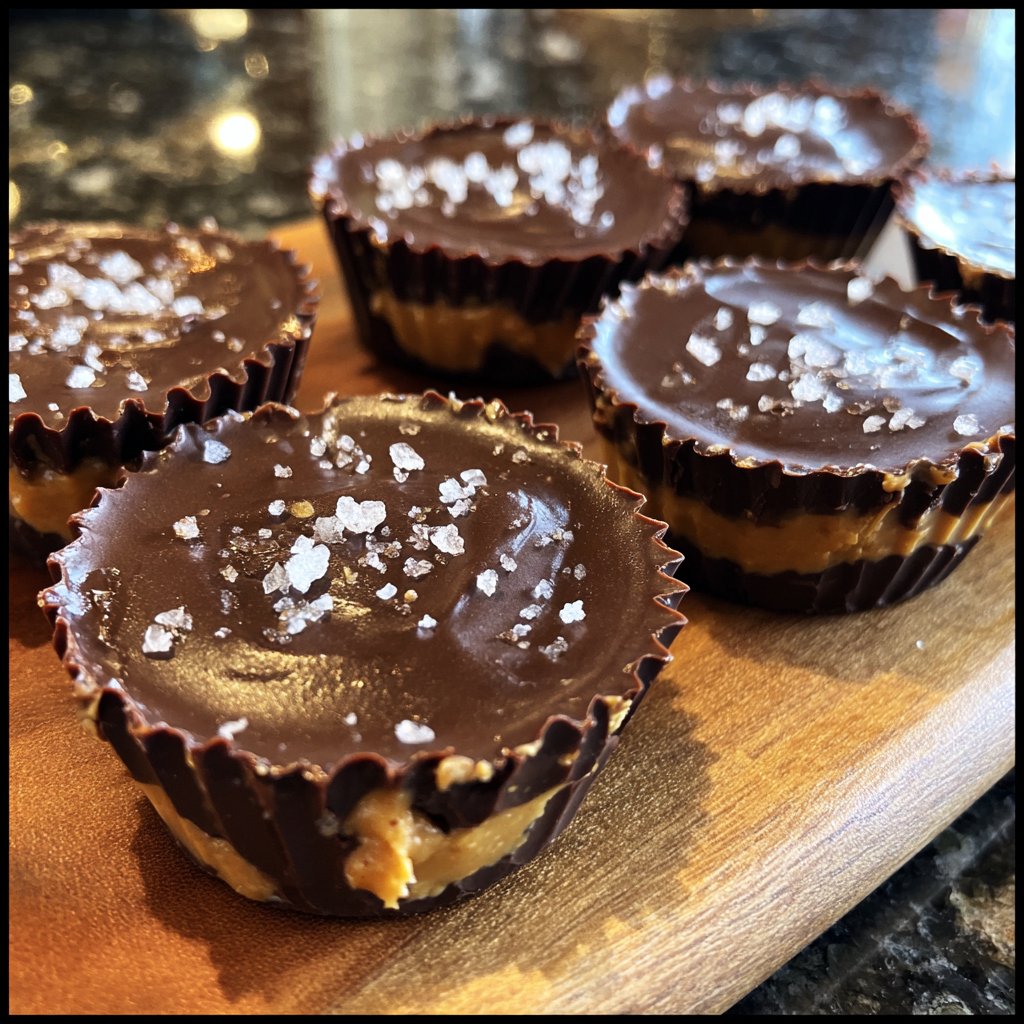
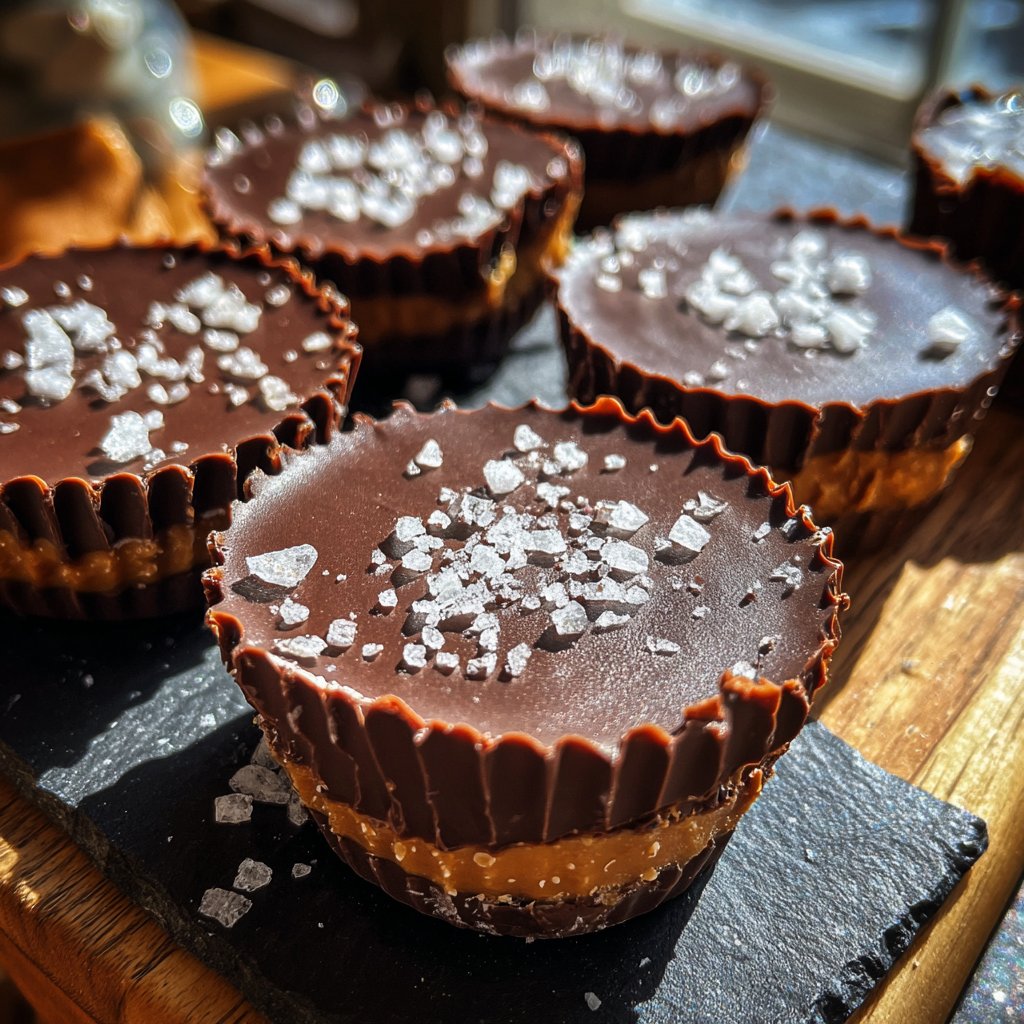
Homemade Reese’s Cups with Sea Salt
Highlighted under: Sweet Haven
I absolutely love making these Homemade Reese’s Cups with Sea Salt! The process is incredibly rewarding, as I get to create a treat that tastes even better than the store-bought version. Each cup has the perfect combo of creamy peanut butter and rich chocolate, all topped off with a sprinkle of sea salt for that little extra oomph. It only takes a short time to whip up a batch, and I find that sharing them with friends and family always brings smiles and compliments. It’s a sweet indulgence you’ll want to make again and again!
Making Homemade Reese’s Cups with Sea Salt is a task that brings me so much joy. The first time I attempted them, I experimented with different ratios of chocolate and peanut butter until I found the perfect balance. The added sprinkle of sea salt really elevates the flavor and makes these treats unforgettable. I thoroughly enjoy how easy it is to customize them by adding ingredients like chopped nuts or crispy rice for an extra crunch.
One tip I swear by is to use high-quality chocolate when melting for coating the cups. It not only results in a smoother texture but also enhances the overall taste of the treat. I also recommend letting them chill a bit longer in the fridge, which helps them set beautifully. Trust me, the wait is worth it!
Why You'll Love These Cups
- Rich peanut butter filling encased in creamy chocolate
- A hint of sea salt that balances the sweetness perfectly
- Simple to make and even more fun to share
Understanding the Ingredients
The key to the perfect peanut butter filling in these Homemade Reese’s Cups lies in the balance of creamy peanut butter and powdered sugar. Creamy peanut butter provides the desired smooth texture and rich flavor, while powdered sugar helps achieve the right sweetness without making the filling overly wet. If you prefer a more natural approach, you can use unsweetened peanut butter, just be mindful to adjust the sugar accordingly to maintain the flavor balance.
Heavy cream adds a luxurious creaminess to the filling, making it melt in your mouth while helping to hold the mixture together. If you're looking for a lighter alternative, you can substitute the heavy cream with full-fat coconut milk, but keep in mind that this may slightly alter the flavor profile, introducing a subtle coconut taste.
The Melting Process
Melting the chocolate correctly is crucial for achieving that smooth, glossy finish you desire. Using a microwave is convenient; however, it’s important to monitor the chocolate closely, stirring every 30 seconds to prevent burning. Ideally, you want the chocolate to melt until it’s just glossy and smooth. Overheating can cause it to seize, which is why I recommend starting with lower power settings if you're unsure. Alternatively, a double boiler can allow for more gentle heat, a technique I often use when melting larger batches.
If your chocolate does seize, don’t despair! You can restore its silky texture by adding a teaspoon of vegetable oil or coconut oil and stirring continuously. This method not only saves your melted chocolate but also keeps the consistency the way you want for assembling your cups.
Assembling and Storing Tips
When assembling the cups, it’s essential to pour enough melted chocolate to create a sturdy base. Aim for approximately a tablespoon of chocolate at the bottom of each liner. Once you’ve added the peanut butter filling, give it a slight press to ensure it adheres well to the chocolate base. Then, top with enough melted chocolate to fully cover the filling. The layering technique is what provides that delightful crunch when you bite into these treats.
These Homemade Reese’s Cups can be stored in an airtight container in the refrigerator for up to a week. If you plan to make a larger batch, they also freeze beautifully. Just layer parchment paper between them in a freezer-safe container, and they can last for up to three months. When ready to enjoy, simply let them sit at room temperature for about 15 minutes before serving for that perfect creamy consistency.
Ingredients
Gather these simple ingredients to make your own Reese’s Cups:
Ingredients
- 1 cup creamy peanut butter
- 1 cup powdered sugar
- 2 cups milk chocolate chips
- 1/2 cup heavy cream
- 1 teaspoon vanilla extract
- Sea salt, for sprinkling
Instructions
Follow these steps to create your delicious Homemade Reese’s Cups:
Prepare the Peanut Butter Filling
In a mixing bowl, combine the creamy peanut butter, powdered sugar, vanilla extract, and heavy cream. Mix until smooth and creamy. This mixture will serve as the filling for your cups.
Melt the Chocolate
In a microwave-safe bowl, melt the milk chocolate chips in 30-second intervals, stirring in between until fully melted and smooth.
Assemble the Cups
Line a muffin tin with cupcake liners. Spoon a layer of melted chocolate into the bottom of each liner and spread slightly to cover. Add a scoop of the peanut butter filling on top, then cover with more melted chocolate.
Chill and Top with Sea Salt
Place the muffin tin in the refrigerator for about 15 minutes to set. Once set, sprinkle a pinch of sea salt on each cup before serving.
Pro Tips
- For a fancier twist, try using dark chocolate instead of milk chocolate or add a crunch by mixing in chopped nuts into the peanut butter filling.
Serving Suggestions
To enhance the taste experience, consider serving these Homemade Reese’s Cups with a side of fresh fruit like strawberries or banana slices. The acidity of the fruit can really cut through the richness of the chocolate and peanut butter, creating a well-rounded dessert spread. Another fun idea is to serve them alongside a scoop of vanilla ice cream, allowing for an indulgent contrast of textures and temperatures.
If you're feeling creative, try drizzling some white chocolate over the top of each cup before adding the sea salt. This not only adds a beautiful visual element but also introduces an appealing flavor contrast that pairs well with the dark richness of milk chocolate.
Flavor Variations
For those who want to experiment, consider adding a hint of spice by mixing in a dash of cinnamon or a few pinches of cayenne pepper with your peanut butter filling. This unexpected heat can create a delightful contrast with the sweetness of the chocolate, making your treats uniquely memorable. Similarly, for a nutty twist, you could incorporate finely chopped nuts into the chocolate coating or filling.
If you prefer a darker chocolate experience, swapping the milk chocolate chips for semi-sweet or dark chocolate chips can enhance the overall flavor profile. Dark chocolate not only provides a richer cocoa experience but also can be paired with sea salt for a sophisticated touch that elevates the appeal of these homemade treats.
Questions About Recipes
→ Can I use natural peanut butter?
Yes, but keep in mind it may not be as sweet, so consider adjusting the sugar to taste.
→ How long can I store these cups?
They can be stored in an airtight container in the fridge for up to a week.
→ Can I freeze these cups?
Absolutely! They freeze well, just make sure to wrap them properly to avoid freezer burn.
→ What if I prefer dark chocolate?
Feel free to substitute the milk chocolate with dark chocolate for a richer flavor!
Homemade Reese’s Cups with Sea Salt
What You'll Need
Ingredients
- 1 cup creamy peanut butter
- 1 cup powdered sugar
- 2 cups milk chocolate chips
- 1/2 cup heavy cream
- 1 teaspoon vanilla extract
- Sea salt, for sprinkling
How-To Steps
In a mixing bowl, combine the creamy peanut butter, powdered sugar, vanilla extract, and heavy cream. Mix until smooth and creamy. This mixture will serve as the filling for your cups.
In a microwave-safe bowl, melt the milk chocolate chips in 30-second intervals, stirring in between until fully melted and smooth.
Line a muffin tin with cupcake liners. Spoon a layer of melted chocolate into the bottom of each liner and spread slightly to cover. Add a scoop of the peanut butter filling on top, then cover with more melted chocolate.
Place the muffin tin in the refrigerator for about 15 minutes to set. Once set, sprinkle a pinch of sea salt on each cup before serving.
Extra Tips
- For a fancier twist, try using dark chocolate instead of milk chocolate or add a crunch by mixing in chopped nuts into the peanut butter filling.
Nutritional Breakdown (Per Serving)
- Calories: 200 kcal
- Total Fat: 14g
- Saturated Fat: 4g
- Cholesterol: 0mg
- Sodium: 50mg
- Total Carbohydrates: 18g
- Dietary Fiber: 1g
- Sugars: 10g
- Protein: 4g